A quick video overview of the guide below.
Note: the video was created for the Summer Course of 2022, so some of the information might be outdated. The written tutorial below is up-to-date.
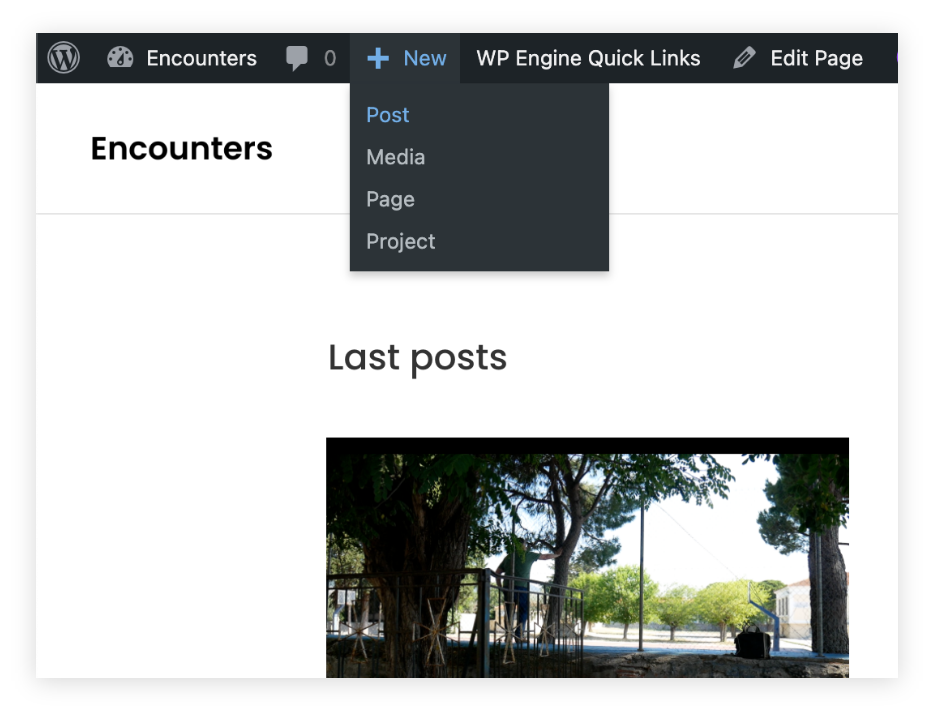
1. Press the ‘new post’ button on the top right hand side
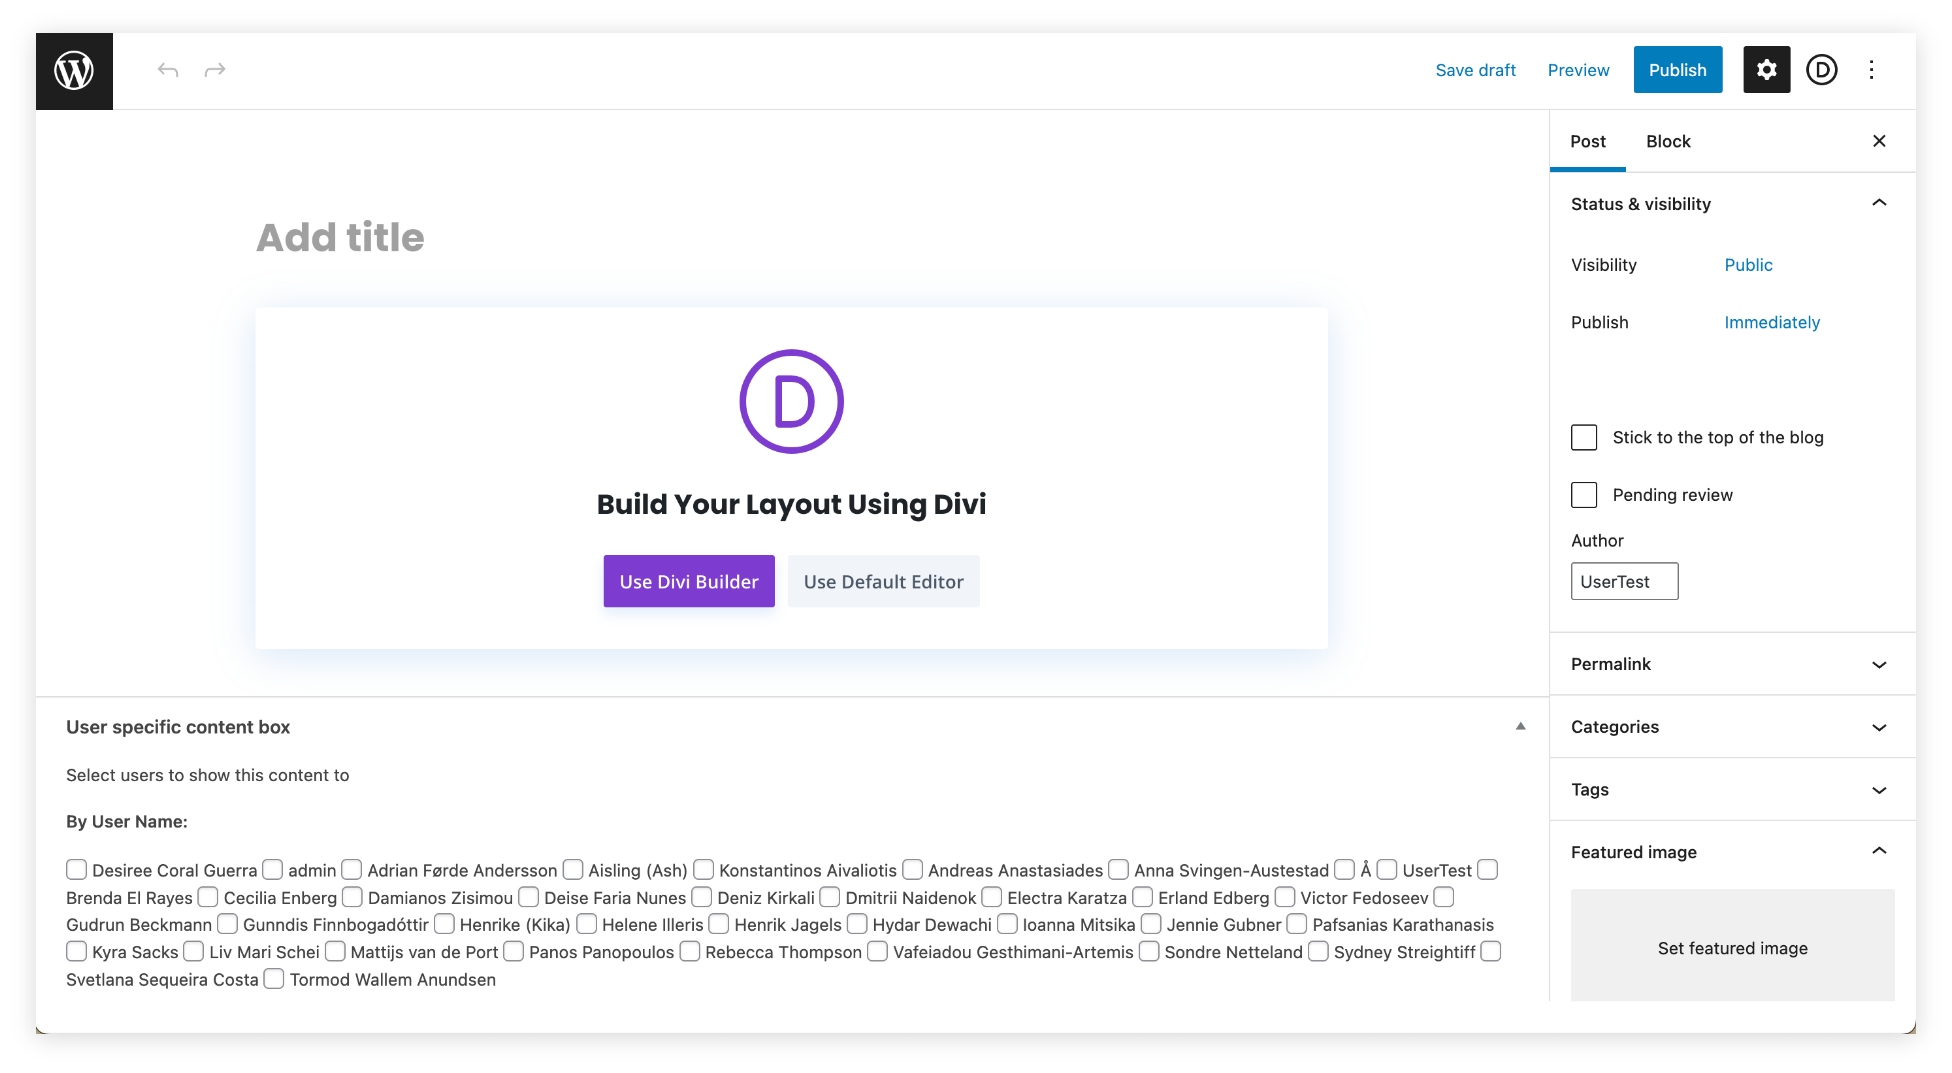
2. Add a title to your post
3. Select the categories that the post belongs to (in the right sidebar menu. NB: if this menu doesn’t show, press the upper right cogwheel). Make sure to select at least one (Summer course assignments: Add categories ‘6: Summer course’ and ‘6A; Course preparations’. This will make your post show up in the corresponding pulldown menus)
4. Select featured image (One that you have permission to use… Uploaded images will stay in the library)
5. Add any relevant tags (such as “Task 1” – this will make it easy to find related content)
6. Manage who should be able to see your post, normally ‘logged in users only’ (If you haven’t checked this, anyone can see your post if they have a direct link)
After completing step 1-6 in this first window, you go on to:
7. Select either the Divi editor or the default editor.*
* Divi has much more flexibility in terms of layout etc, while the default WordPress editor is less complex. Both are visual editors. See the next pages for tutorials on how to use both. You may also see these detailed instructions for using the default editor (this was made for an older version of the site; video and text)
Security
Default editor
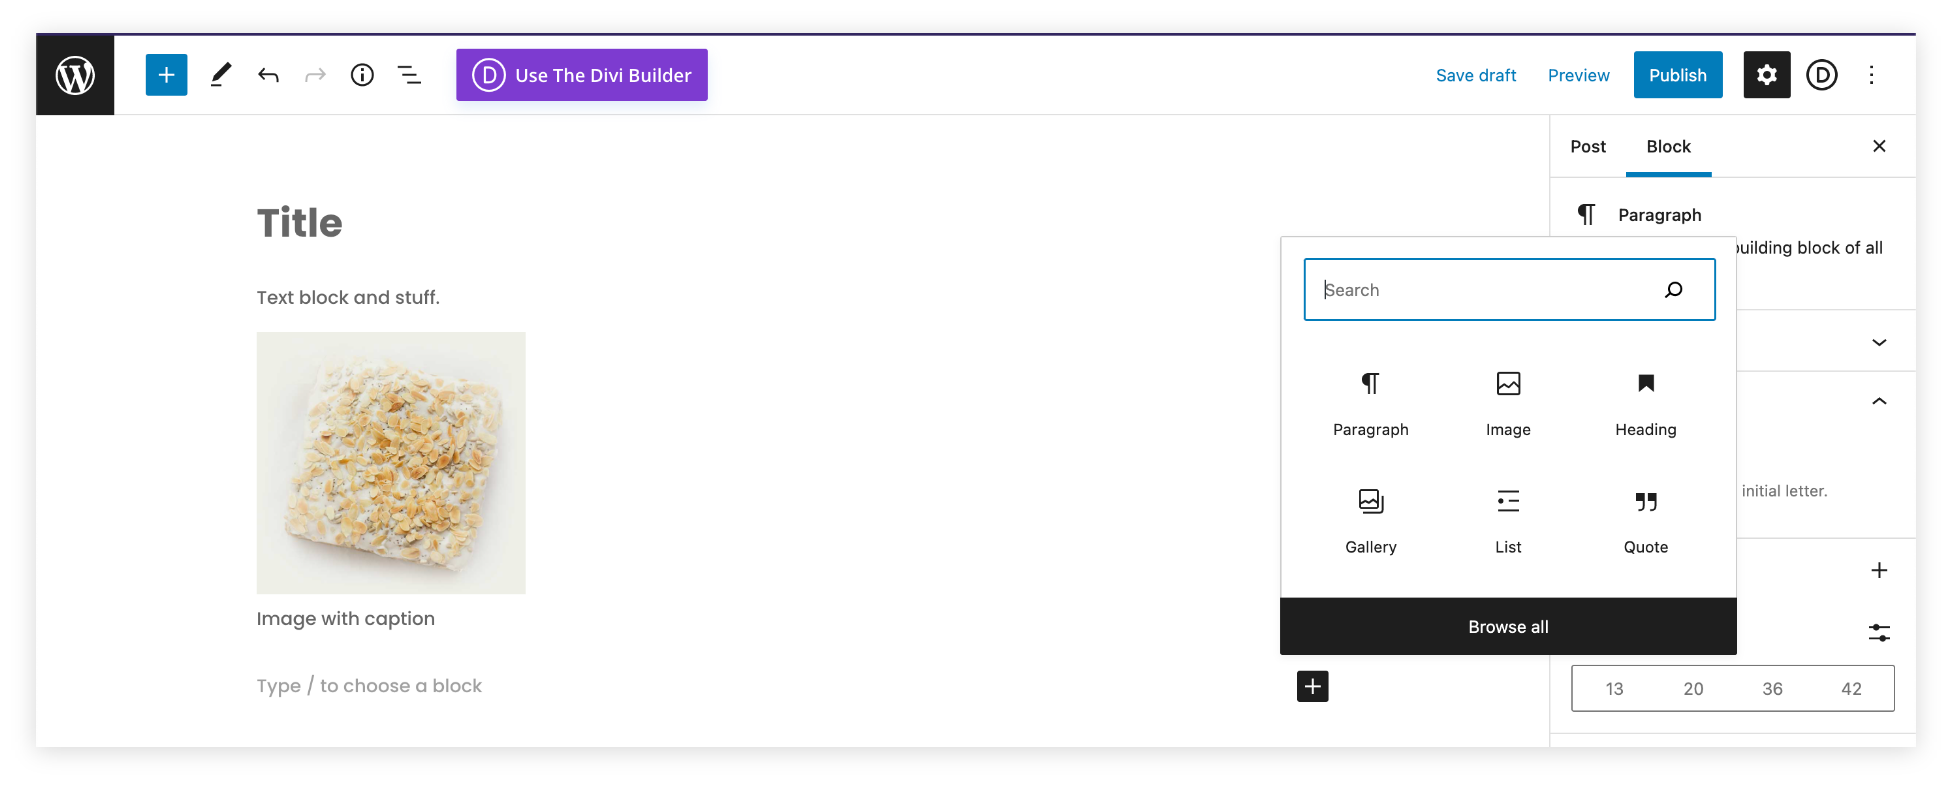
Add blocks with the plus icon, or just type text in the “Type / to choose a block” field
Divi editor
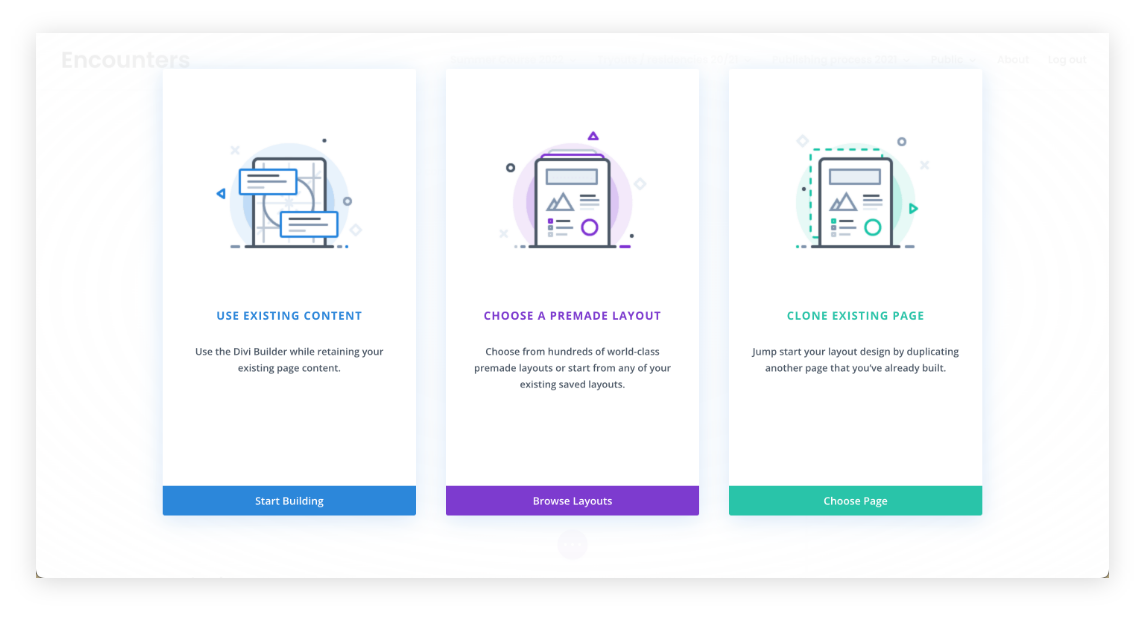
1. Select “Use existing content”. This will create a blank page.
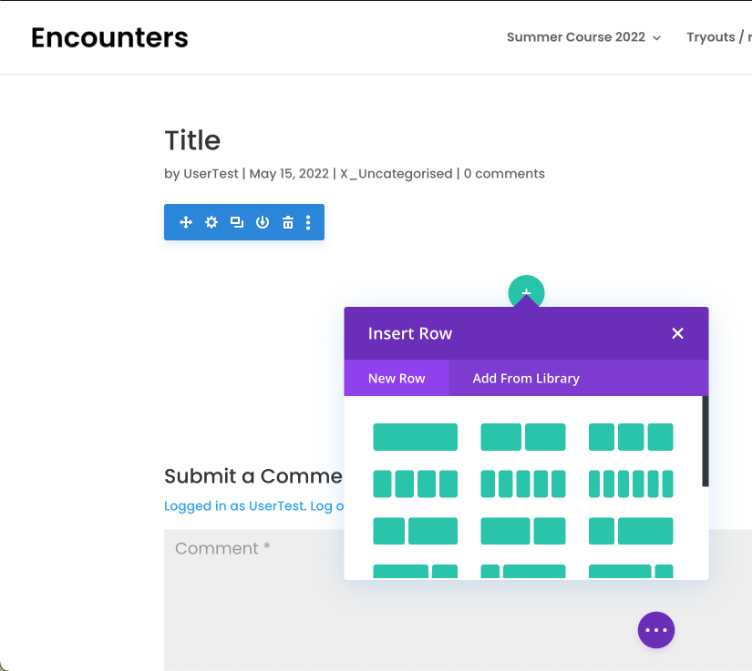
Divi uses a system of Sections (blue), Rows (green) and Modules (grey).
Rows can have different column variations. Select the one that suits your content best.
Heres a video on how sections, rows and modules work.
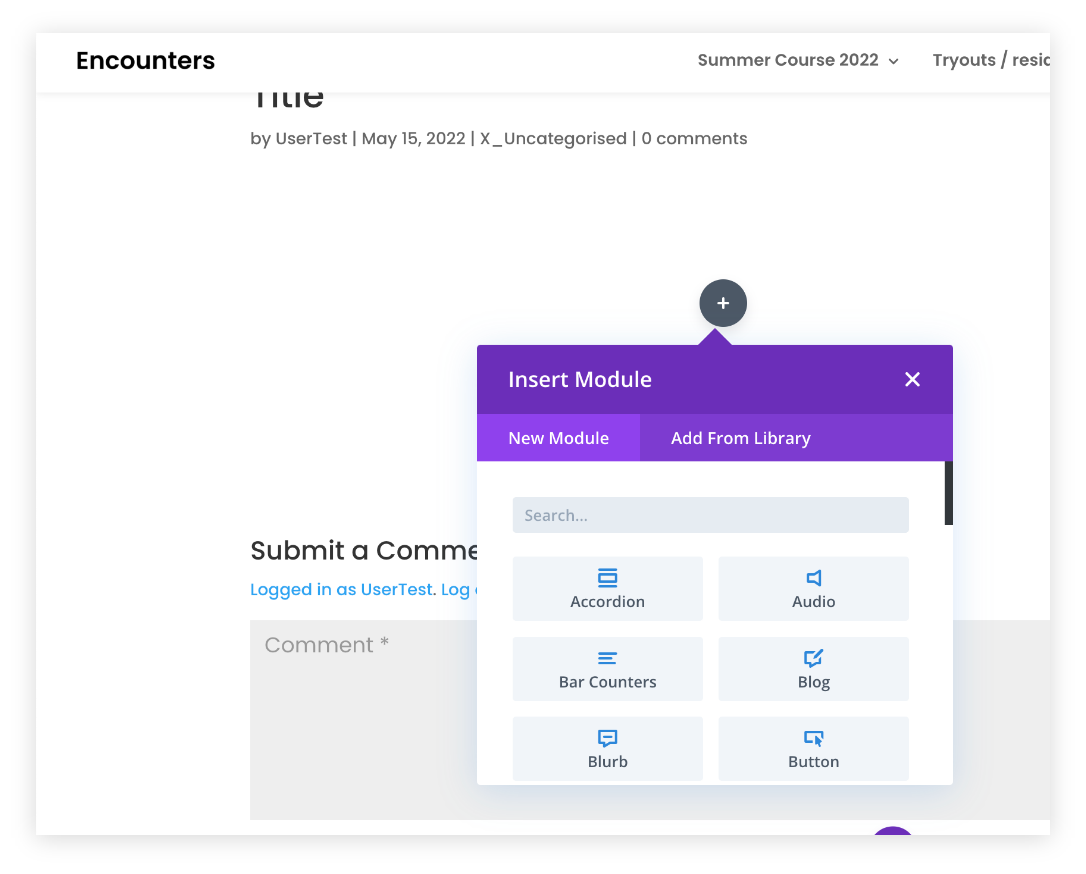
Divi has many different modules.
The text and image modules are the most relevant. Most other modules can be googled for in depth tutorials.
(The video above comes from the creators of Divi, and they have an extensive catalog of tutorials. https://www.elegantthemes.com/documentation/divi/)
Find the text module by searching “text”, or scroll down
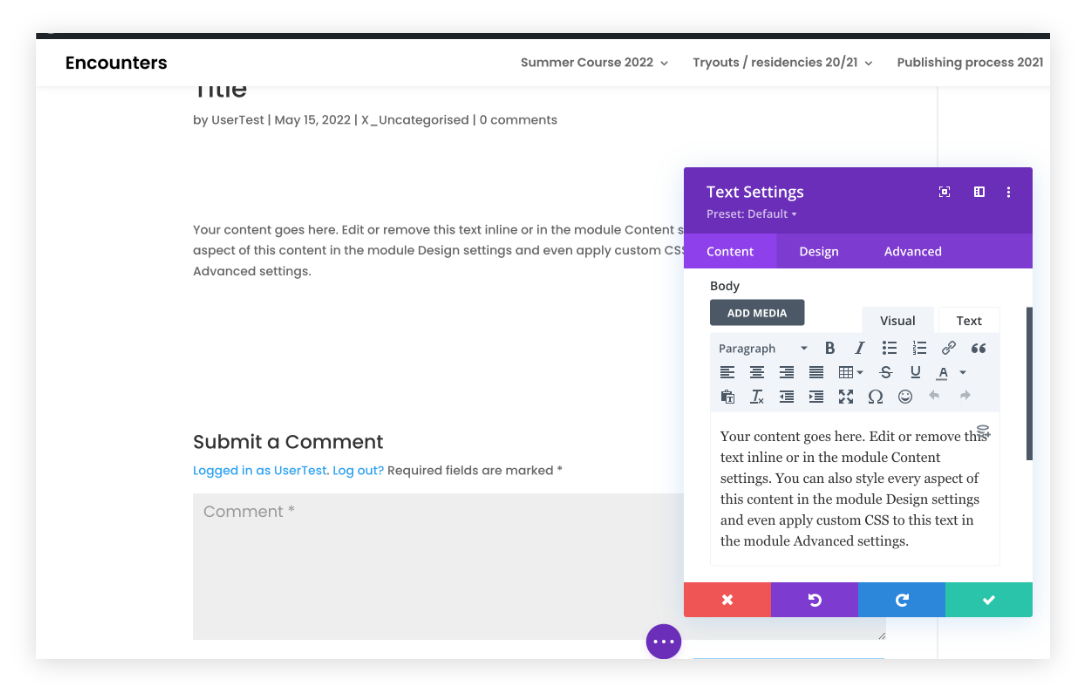
Here you can edit the text content of the module.
In the design tab you can get creative about the presentation of the module. All modules have a similar setup with a content and design tab.
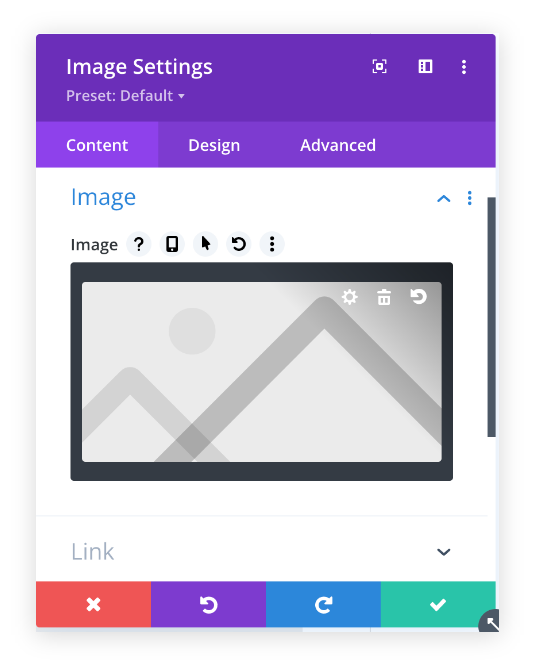
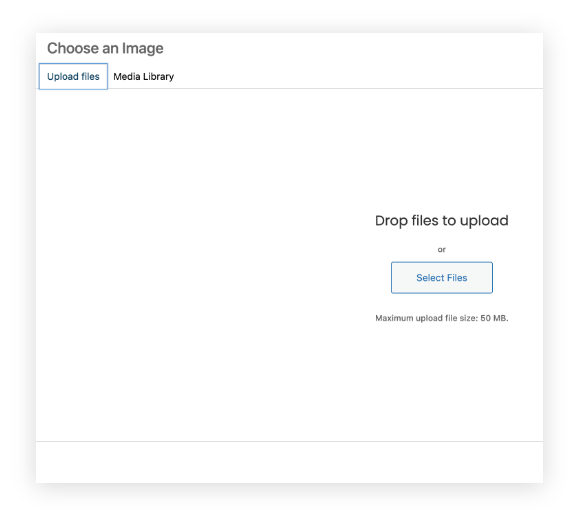
Place an image module and change the image by pressing the cogwheel. You can then upload an image or select one from the site’s library (please make sure you have permission to use any image, including the library, which contains all images that all users have uploaded on this site)

Once you are happy with how your post is looking, press the three elipsees at the center bottom of the screen to open the main menu, and press publish on the right. The post will then appear live on the site.

If at any point you want to exit the visual builder, you can do so by pressing the “Exit Visual Builder” on the top menu bar. Remember to save first!
0 Comments